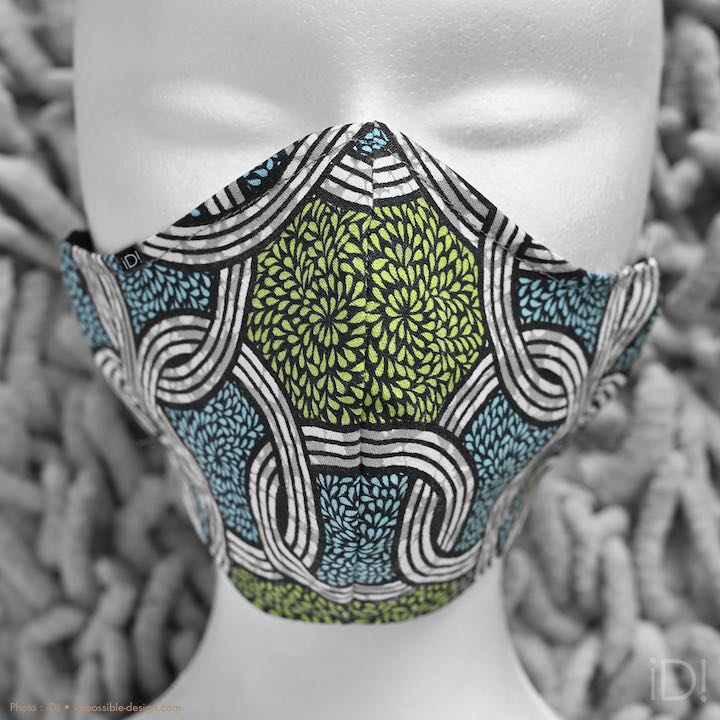
impossible Design has reworked its protective mask in order to optimize manufacturing and sewing time and to minimize fabric loss.
In view of the real success of our first facial protection mask making tutorial and as the Covid epidemic seems to be going on for a few more months, we considered creating a new iteration of the mask by slightly improving the design at the curve of the body. nose but also by working on the optimization of the sewing pattern and by simplifying the stages of the realization.
The goal was to try to cut the mask production time in half from thirty minutes to about 15 minutes without changing the morphological design of the mask. This sewing time is accessible with a little practice from the realization of several masks according to this tutorial.
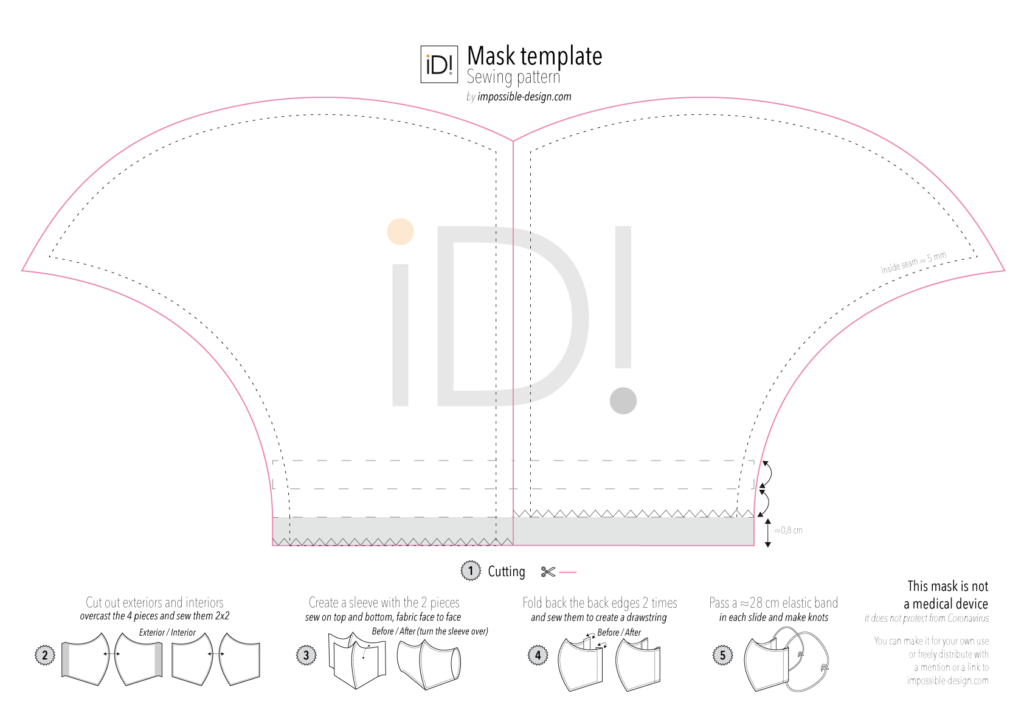
At impossible Design we always pay attention to details and we have once again created a double shape which allows the 4 constituent elements of the protective mask to be cut out more quickly.
And as for the first model, we kept the A4 or Legal printable format.
For this new pattern, this is a universal design that fits the majority of adult faces.
For smaller faces, you can print it with a reduction factor of 90% or less.
Create your fabric face protective mask
Cutouts of fabric pieces
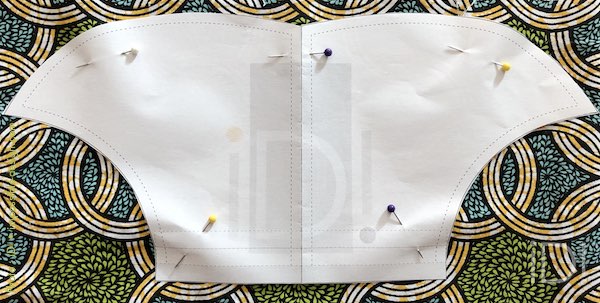

Fold your fabric and carefully position the cut out pattern according to the pattern using a few pins.

Cut the two layers of fabric according to the shape then fold the two new pieces obtained to cut them into four parts.

On two pieces simultaneously cut and remove a strip of about 8 mm according to the example above.
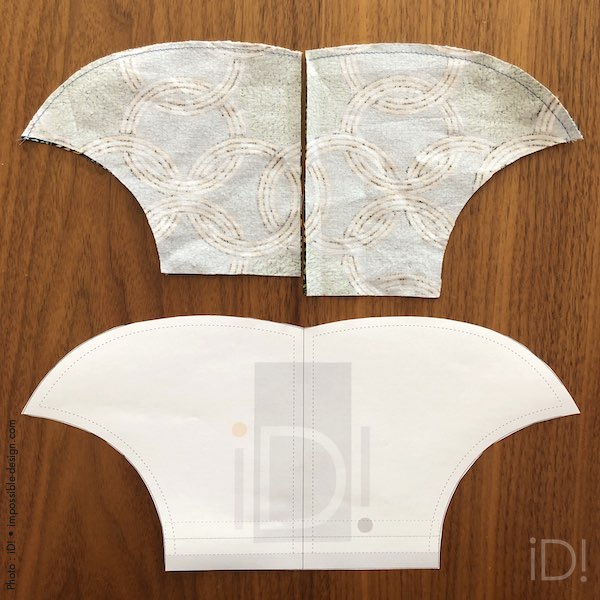
Position the pieces of fabric two by two, pattern against pattern.
Sew the rounding corresponding to the edge of the face for each assembly 5mm from the edge.
Making the sleeve

Place the resulting inner and outer pieces of the mask with their pattern face to face.

Make the sleeve by sewing only the lower and upper parts 5 mm from the edges.

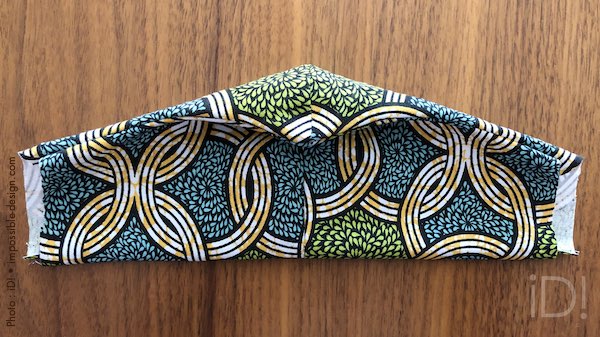
Turn the sleeve over and lightly pull all the length of the seams to check their strength and to be able to lay the mask flat. And make it take its shape.

Sew a finishing seam across the entire mask 5mm from the edges.
To save time :
you can sew directly all around the mask by going in zigzag or serger mode on the ends of the mask which will be folded up to make the slides.
With a little care and precision you can make all mask assemblies without pins.
Mask slides
Fold the ends of the mask twice to avoid having to hem, then sew at the edge to create a slide about 8 mm wide.
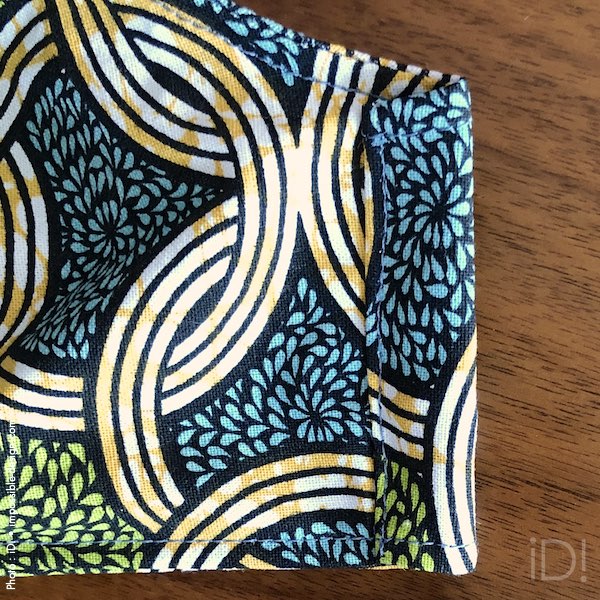
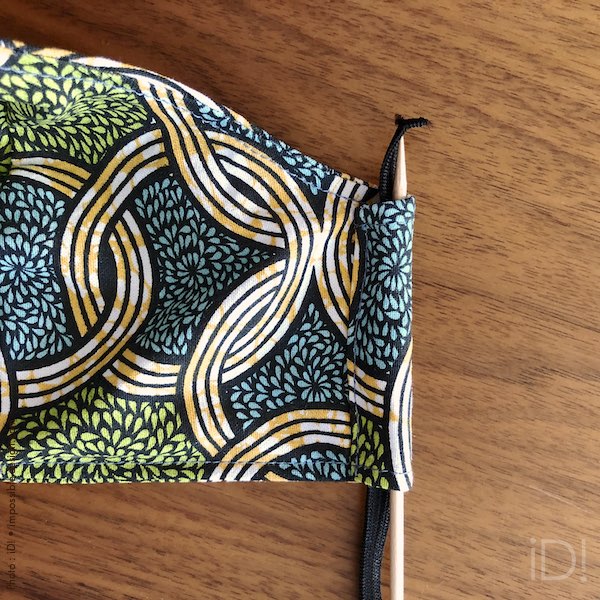
Cut your rubber bands to a length of about 28 cm and slide them on faster using a prick such as a wooden stick or a doly crochet.

Close the flat elastics with a small seam or with a knot for cord elastics.
Slide them inside the slides to hide the clips.
With time when, because of the washing of the masks, the elastics tend to slip and the knots to come out of the slides: you can make a small line of seam over each slide to block them permanently.

It is advisable to wash the fabric before making the mask to avoid any shrinkage and to remove any toxic products from fiber treatment.
Like most double-layered fabric masks, this mask does not guarantee complete protection against the transmission of Coronavirus or other diseases transmitted by spraying spillions or droplets.
Sewing pattern to download
Download our fabric protective mask sewing pattern.
You can make your masks from this new pattern and / or freely distribute this template without modification on the internet:
please indicate its source with a link on our site www.impossible-design.com or, preferably, directly on this article.
You might also be interested in these other tutorials:

